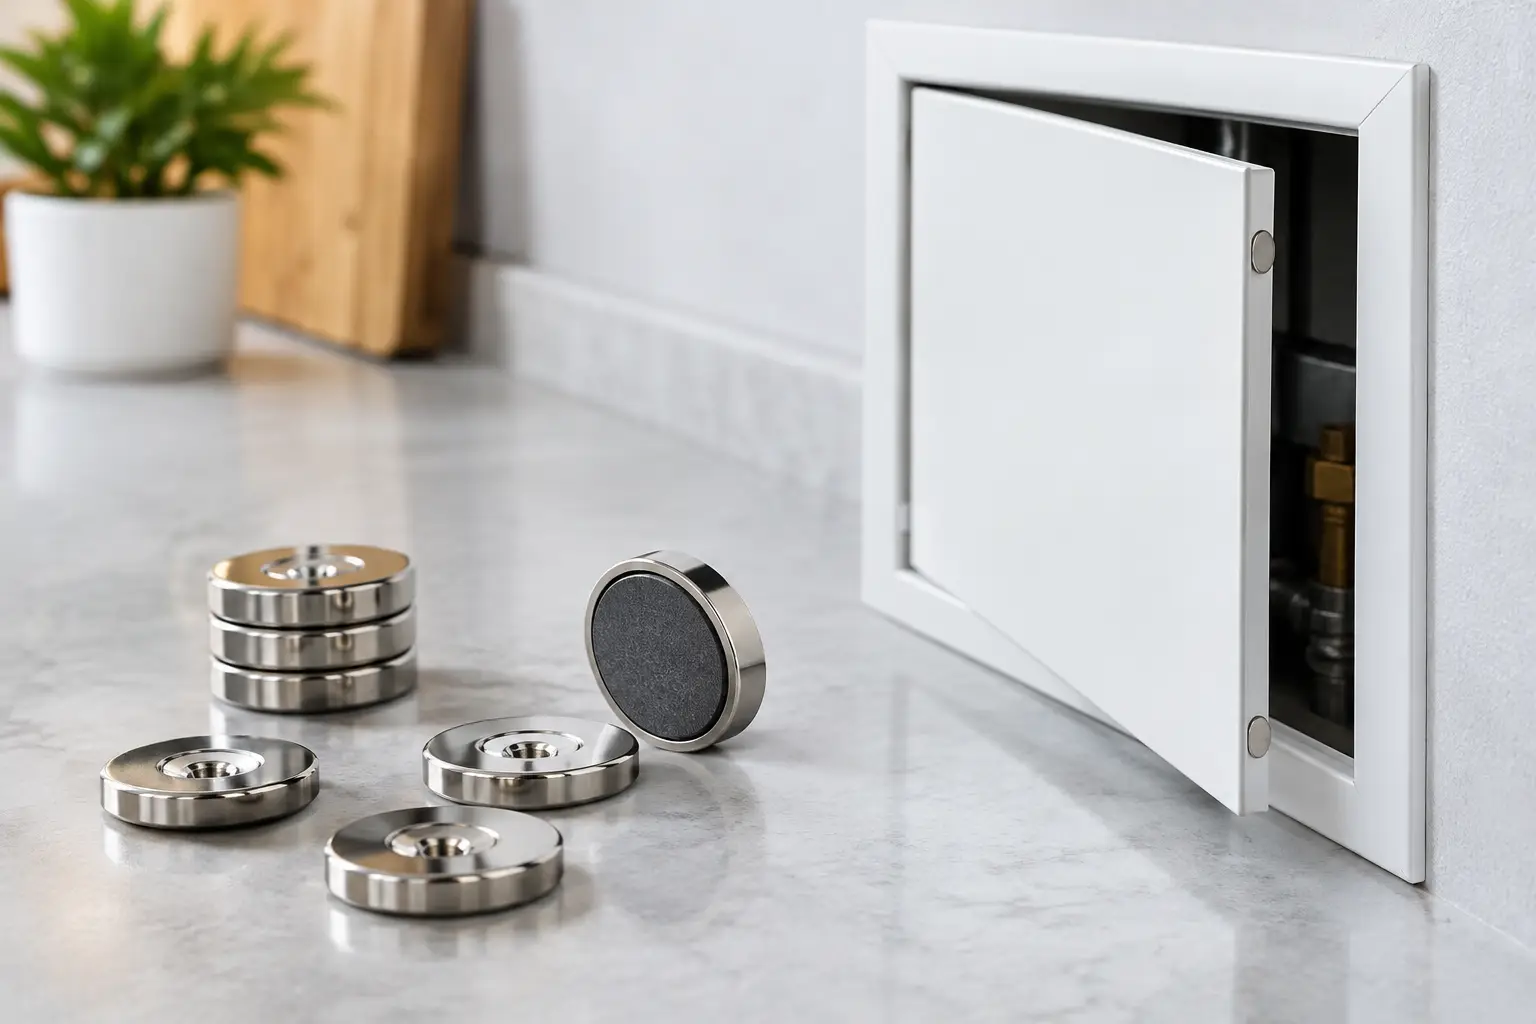
Best Access Panel Magnetic Fixings for UK Builds
An access panel only works if it opens when needed and stays put when it is not. The best access panel magnetic fixings deliver that balance: a clean, screw-free finish on the visible face, positive holding power and a panel that can still be removed without damaging the surrounding surface.
For joiners, fit-out teams and capable DIY installers, magnetic fixing is often the practical answer where a hinged door, push latch or exposed turn button would spoil the finish. But magnet strength alone does not decide whether the installation will perform. Panel weight, the size of the opening, the substrate, the air gap and how often the panel will be opened all matter.
What makes the best access panel magnetic fixings?
A good magnetic access panel fixing uses a powerful magnet on one side and a ferrous steel strike plate, or another suitable steel surface, on the other. When the panel is pushed into place, the magnets hold it closed without visible hardware. This makes them particularly useful for tiled service voids, painted MDF joinery, kitchen end panels, retail displays and bespoke cabinetry.
The strongest option is not automatically the right option. A very high pull force can make a small inspection panel awkward to release, especially where there is no finger pull, suction cup point or discreet removal tool. Equally, magnets that are too weak can allow a larger panel to rattle, sit proud or move when a nearby door closes.
The right fixing should provide enough holding force for the panel and its setting, while keeping removal controlled and repeatable. High-grade neodymium magnets are well suited to this work because they provide superior pull performance from a compact format. That is valuable where there is limited depth behind a panel or where the fixing needs to remain hidden within the frame.
Pull force is only part of the calculation
Published pull force is normally measured in ideal conditions: direct contact with clean, flat, thick steel. An installed access panel rarely offers those conditions. Paint, tile adhesive, laminate, a slight misalignment or a 1 mm gap can reduce holding power considerably.
Treat quoted pull force as a useful comparison, not a guaranteed installed result. If the panel has a textured finish, sits on uneven timber or closes against a thin steel plate, allow extra capacity. It is usually better to use several sensibly sized magnets around the perimeter than rely on one exceptionally strong magnet in the centre.
The panel must sit flat before magnets can hold it well
Magnets are retainers, not substitutes for a well-made frame. The opening should be square, the backing frame should be rigid and the panel should have a consistent seating edge. If the panel twists or rocks, some magnets will make contact while others remain separated by a gap.
For a flush result, build a positive stop or rebate that sets the panel depth. The magnets then hold it against that stop. This approach avoids the common problem of a removable panel being pulled too far into the void at one edge and sitting proud at another.
Choosing magnetic fixings by access panel type
The best arrangement depends on the panel material and its purpose. A lightweight painted MDF panel in a cupboard has very different demands from a tiled bathroom access panel or a larger electrical-service opening.
Lightweight MDF and plywood panels
For small timber-based panels, compact neodymium disc magnets are a clean, versatile choice. Recess them into the panel edge, the frame, or both, then fit a steel strike plate opposite. A shallow recess helps the components sit flush and keeps the panel position predictable.
Countersunk magnets are particularly useful where a mechanical fixing is preferred. They can be secured with a suitable screw rather than relying solely on adhesive. This gives installers a more serviceable fixing, and it is often the better option where the panel will be opened regularly.
Avoid driving screws so tightly that the magnet is stressed or cracked. Neodymium magnets are extremely powerful for their size, but they are brittle rather than flexible. A correctly sized countersunk recess and a controlled screw fit are far more reliable than forcing the fixing into place.
Tiled access panels
Tiled panels need careful planning because weight rises quickly once tile, adhesive and backing board are involved. The panel should be supported by a properly formed frame or ledge, with magnets used to retain it in the final closed position. Do not expect magnets alone to carry the full weight of a heavy tiled panel over time.
Use more fixing points than you would on a plain MDF panel, positioned near corners and along longer edges. Keep the magnets clear of areas where they may interfere with plumbing access or reduce the thickness of a moisture-resistant backing board too much. A non-ferrous tile surface will not attract a magnet, so include steel strike plates or concealed steel washers behind the finish.
In bathrooms and utility spaces, select compatible adhesives and materials that suit the moisture conditions. The access panel itself must also be sealed and detailed correctly for the location. Magnetic fixings help maintain a discreet finish, but they do not make an unsuitable panel system water-resistant.
Larger joinery and commercial panels
Large panels need a considered layout. A few magnets in the corners may keep a panel closed at first, yet leave the middle free to bow or buzz. Add fixing points along the longer sides where required, and use the frame to support the panel evenly.
For commercial joinery, retail units and frequent-access service zones, choose a system that installers can adjust or replace. Screw-fixed countersunk magnets and separate steel plates make future maintenance simpler than permanently bonding every component into place. This matters when a panel needs repeated access to valves, controls, networking or electrical equipment.
How many magnets does an access panel need?
There is no single number because dimensions and finishes vary, but the layout should follow the panel rather than guesswork. A small, lightweight panel may need only a fixing at each corner. A wider or heavier panel often benefits from additional magnets along the top and sides to prevent flexing and uneven gaps.
Start by considering the panel weight and the direction of load. A vertically fitted panel is mainly resisting pull-out force. A horizontal ceiling panel is a more demanding application because the fixing system is also supporting weight against gravity. Ceiling access panels require extra caution, suitable mechanical support and a purpose-designed approach. Do not rely on magnetic pull alone where a falling panel could cause injury or damage.
Also consider the opening method. If a panel has no handle, a stronger magnetic layout may require a suction lifter, a concealed finger notch or a small removal hole. Design this before fitting the final finish. A beautifully flush panel is of little use if it cannot be opened cleanly during a repair.
Installation details that make the difference
Accurate positioning is what turns powerful and versatile magnets into a professional fixing. Mark the magnet locations with the panel held in its final position, rather than measuring from an edge that may not be perfectly square. Fit one pair first, test the closing action, then complete the remaining positions.
Where magnets are recessed into timber, drill clean, controlled holes and check the depth before bonding or screwing them in. The magnet face should be as close as possible to the steel plate when closed. Every unnecessary layer between them reduces effective pull.
Polarity is relevant only when magnets face magnets. If you are using a steel strike plate, orientation does not matter. If two magnets are used as a pair, test them before installation and mark their faces. Accidentally fitting matching poles opposite one another creates repulsion rather than a closure.
Use adhesive only where it suits the materials and the load. Some smooth laminates, dusty timber edges and damp locations are poor candidates for an adhesive-only fixing. Mechanical fixing is usually the more dependable choice when the panel is heavy, frequently opened or part of a trade installation that must remain serviceable.
Common access panel magnetic fixing mistakes
The first is selecting magnets by diameter alone. A larger disc is not always stronger in the way your installation needs, and thickness has a major effect on performance. Compare the intended holding requirement, available recess depth and the condition of the steel contact surface.
The second is using thin or poorly supported steel as the strike surface. A thin plate can flex away from the magnet, reducing the effective hold. A flat, securely fixed steel plate gives more predictable results.
The third is placing all magnets too far from the panel edges. This can leave corners loose, especially on a warped or lightweight panel. Place the fixing points where they resist movement, while leaving enough material around recesses to protect the panel edge.
Finally, do not ignore safe handling. Strong neodymium magnets can snap together suddenly and can chip if allowed to collide. Keep them away from electronic devices and anyone with a pacemaker or other implanted medical device should follow appropriate medical guidance before handling high-strength magnets.
Select strength for the finished job
The best access panel magnetic fixings are the ones that disappear once installed but perform every time the panel is needed. Compact N52 neodymium discs, blocks and countersunk magnets give installers strong options for concealed retention, especially when paired with a rigid frame and properly positioned steel strike plates.
Before ordering, measure the panel, allow for the finished surface and decide how it will be removed. Choosing the fixing layout at the build stage is a small decision that protects the finish, saves time on site and leaves the next person with access exactly where they need it.