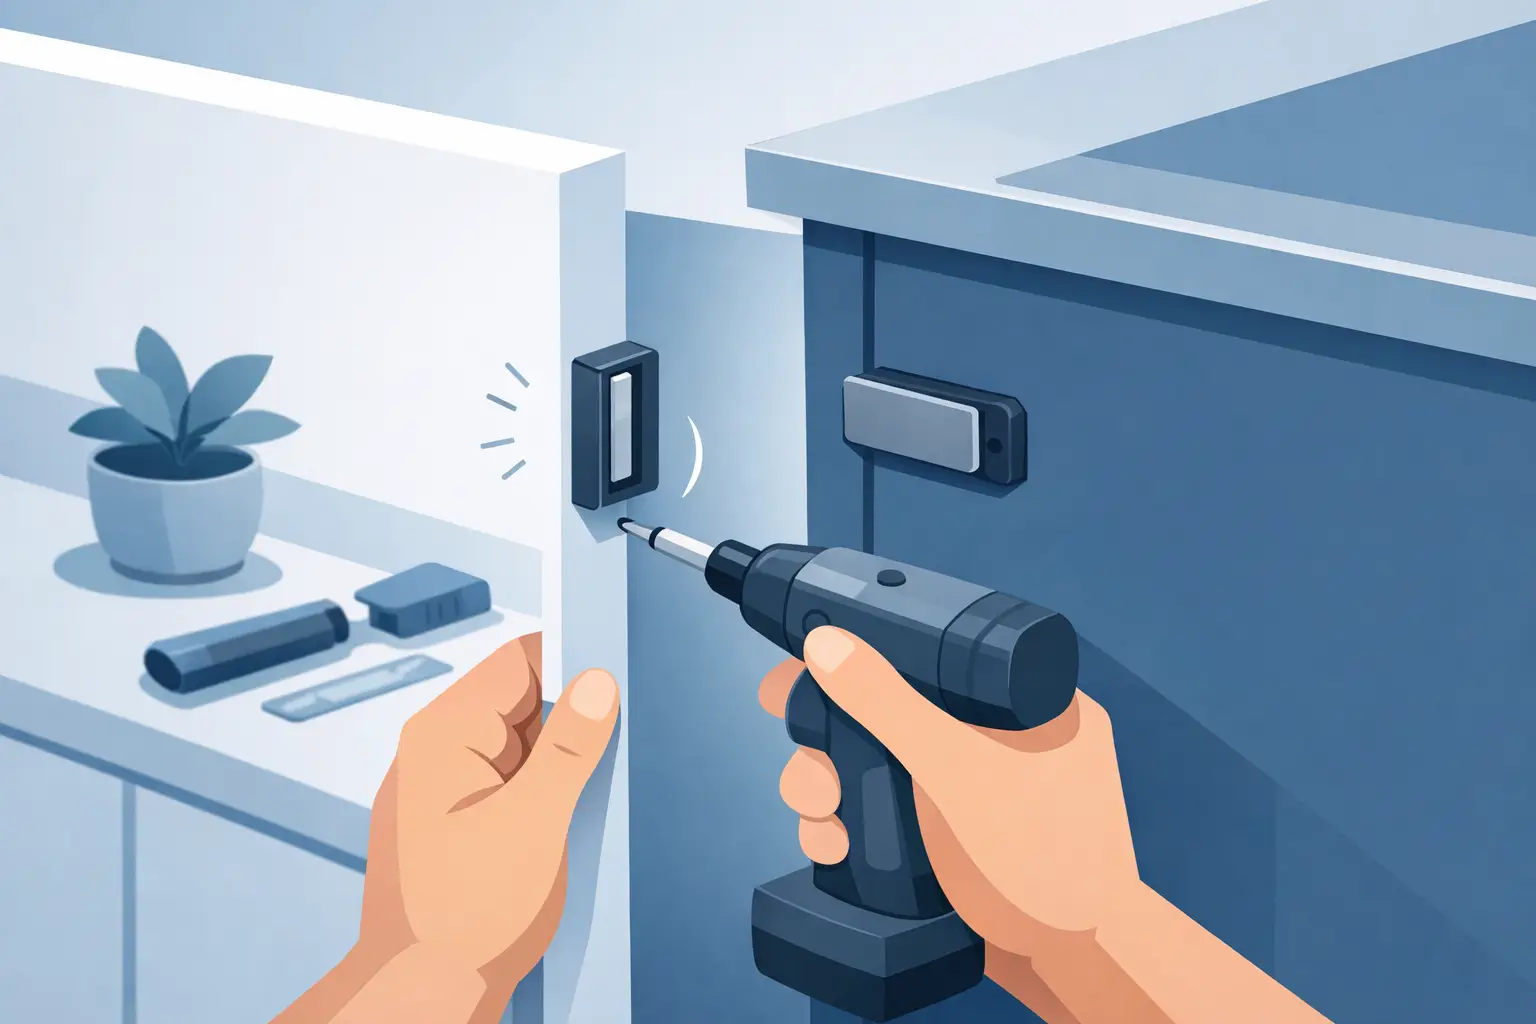
Cabinet Maker Magnet Fitting Example for Doors
A cupboard door that will not stay shut makes even well-built cabinetry feel unfinished. This cabinet maker magnet fitting example shows how a compact, high-strength magnet can create a positive, tidy closure without bulky catches, visible latches or unreliable holding power.
The principle is simple: fit a magnet inside the cabinet and a steel strike plate to the door, then bring both faces into accurate alignment. The detail matters, though. The wrong magnet size, an unnecessary air gap or a poorly positioned strike plate can turn a powerful fitting into a frustrating one.
Cabinet maker magnet fitting example: a flush cupboard door
Consider a painted shaker-style wall cabinet with a single inset door. The door is 18mm MDF, the cabinet frame is timber, and the aim is a clean close that resists everyday movement without requiring a hard pull to open.
For this type of job, a countersunk neodymium magnet fitted to the inside edge of the cabinet frame is a practical choice. A small steel strike plate, or a suitably sized mild-steel washer, is fixed to the matching point on the rear of the door. When closed, the magnet and steel should meet face to face with as little clearance as possible.
A strong magnet does not need to be large to work well in cabinetry. N52 neodymium magnets offer superior pull performance for their size, making them particularly useful where fitting space is limited. For a light internal cupboard door, one magnet near the top opening edge is often enough. A taller, heavier or slightly warped door may need two – one towards the top and one towards the bottom.
The target is a controlled hold, not maximum force. A door that needs a sharp tug each time may be secure, but it is not necessarily pleasant to use. The best fitting feels positive as the door closes, stays shut under normal use and opens cleanly by the handle.
Choosing the magnet format
Countersunk magnets are often the neatest option for timber cabinet work because they can be secured with a screw and sit close to flush. They suit face frames, internal carcass rails and fitting blocks where there is enough material for the fixing.
Disc magnets are useful when the magnet will be bonded into a drilled recess. This can give an especially discreet result on custom furniture, but adhesive preparation must be right. The surfaces need to be clean, dry and close-fitting, and the chosen adhesive must be suitable for the cabinet material. For most working cabinets, a screw-fixed countersunk magnet is easier to adjust or replace later.
Block magnets can be effective in purpose-made recesses or where a greater contact area is needed. They are often used in larger cabinetry, display units and bespoke closures. Their flat shape can be useful, but installation needs careful planning because the edges are more exposed to knocks during fitting.
Set the closure before drilling
Do not position the magnet by eye and drill straight away. First, hang and adjust the door so its gaps are even and it closes in the position you want. Hinges control the door. The magnetic catch only holds it there.
Mark the intended catch point on the inside of the cabinet, usually close to the opening edge and clear of hinges, shelves and door profiles. For an inset door, the fitting point is often on the inside face of the frame or a small timber block fixed behind it. For an overlay door, it may sit on a carcass side, rail or dedicated mounting block.
Hold the strike plate against the door in the matching position and close the door gently to check that the parts meet squarely. If the magnet meets the plate at an angle, the pull strength drops and the door may creep open. This test also reveals whether a raised paint edge, door stop or bumper is creating a gap.
A thin non-magnetic spacer can be helpful during the test fit if the initial pull is stronger than required. It is better, however, to select a magnet size that suits the door than to rely on a large gap to tame an oversized magnet.
Fit the magnet without damaging it
Neodymium magnets are powerful but brittle. They can chip or crack if allowed to snap together, strike steel sharply or be crushed by an overtightened screw. Handle each magnet individually and keep fingers clear when working with larger sizes.
For a countersunk fitting, drill a small pilot hole in the timber first. Position the magnet with the countersink facing the screw head, then tighten the screw only until the magnet is secure and sitting flat. Do not force the screw head deeply into the countersink. Excess pressure can fracture the magnet, particularly if the timber surface is uneven.
A non-ferrous screw is usually preferable where practical, as it avoids the screw becoming part of the magnetic contact area. The most important point is that the screw head sits neatly within the countersink and does not project past the magnet face. A projecting head creates an air gap, reducing the effective holding force.
If the cabinet uses melamine-faced board, thin MDF or another material that does not hold screws well, fit a solid timber block behind the fixing point or use an appropriate magnetic catch housing. The magnet is only as dependable as the substrate holding it in place.
Fix the strike plate for a full contact face
The steel strike plate should be flat, clean and large enough to meet the magnet face fully. Mild steel is the normal choice because it gives the magnet a direct ferrous surface to pull against. Stainless steel is not always magnetic, so it should not be assumed to work as a strike plate.
With the magnet fitted, place the strike plate against it and apply a small removable mark or dab of masking tape to transfer the position onto the door. This gives a more accurate fixing point than measuring from the cabinet edge alone. Once marked, remove the plate, drill pilot holes if required and secure it to the rear of the door.
Before fully tightening the strike plate screws, close the door several times. Check that the plate lands centrally on the magnet and that the door sits naturally against its stop. Small adjustments at this stage make a noticeable difference to the finished action.
Where appearance is critical, recess the strike plate slightly into the back of the door. This is useful on fine furniture or fitted cabinetry, but it is not always necessary. A recessed plate adds labour, and an overly deep recess can introduce the very air gap that weakens the closure.
Account for door weight, movement and use
Magnet choice depends on more than the size of the door. A narrow cabinet in a calm room needs less holding force than a tall utility cupboard that is regularly knocked, slammed or affected by vibration. Doors fitted with heavy handles, mirrors or thick solid-timber fronts also place greater demand on the catch.
For a standard kitchen-style cupboard, start with a practical single catch position and test it with the door fully fitted. If the pull feels insufficient, adding a second matched magnet is often more reliable than replacing one small magnet with an excessively strong version. Two points of contact can also help a tall door sit evenly against the cabinet.
Bear in mind that magnet pull ratings are usually measured under ideal direct-contact conditions. Paint, laminate, wood movement and even a small gap reduce real-world performance. This is why careful positioning often matters more than simply choosing the strongest available magnet.
Door buffers deserve attention too. Soft rubber bumpers prevent rattling and protect painted surfaces, but thick bumpers hold the door away from the frame. Position them so they do not create too much separation at the magnetic catch, or select a magnet with enough reserve pull to work through the intended gap.
Common fitting faults and practical fixes
If the door springs back open, first look for an air gap. A proud screw head, uneven strike plate, thick bumper or misaligned door can all reduce attraction. Correct the contact surfaces before changing the magnet.
If the door is difficult to open, the magnet may be too powerful for the size and leverage of the door. Moving the catch closer to the hinge side can make the pull feel lighter at the handle, although it may also reduce the door’s resistance to opening. In most cases, using a smaller magnet or a modest spacer is the cleaner answer.
If a door closes crookedly, do not ask the magnet to pull it into alignment. Re-adjust the hinges and check the cabinet is level. Magnetic catches work best as a final retaining point, not as a cure for poor door geometry.
For compact, dependable closures, Magman’s high-strength neodymium magnets give cabinet makers and DIY fitters a powerful, versatile option. Select the format for the available fixing method, keep the steel contact face close and flat, and test the hold with the finished door rather than on the bench. A few minutes spent on alignment will leave the cabinet with the quiet, positive close that customers notice every day.