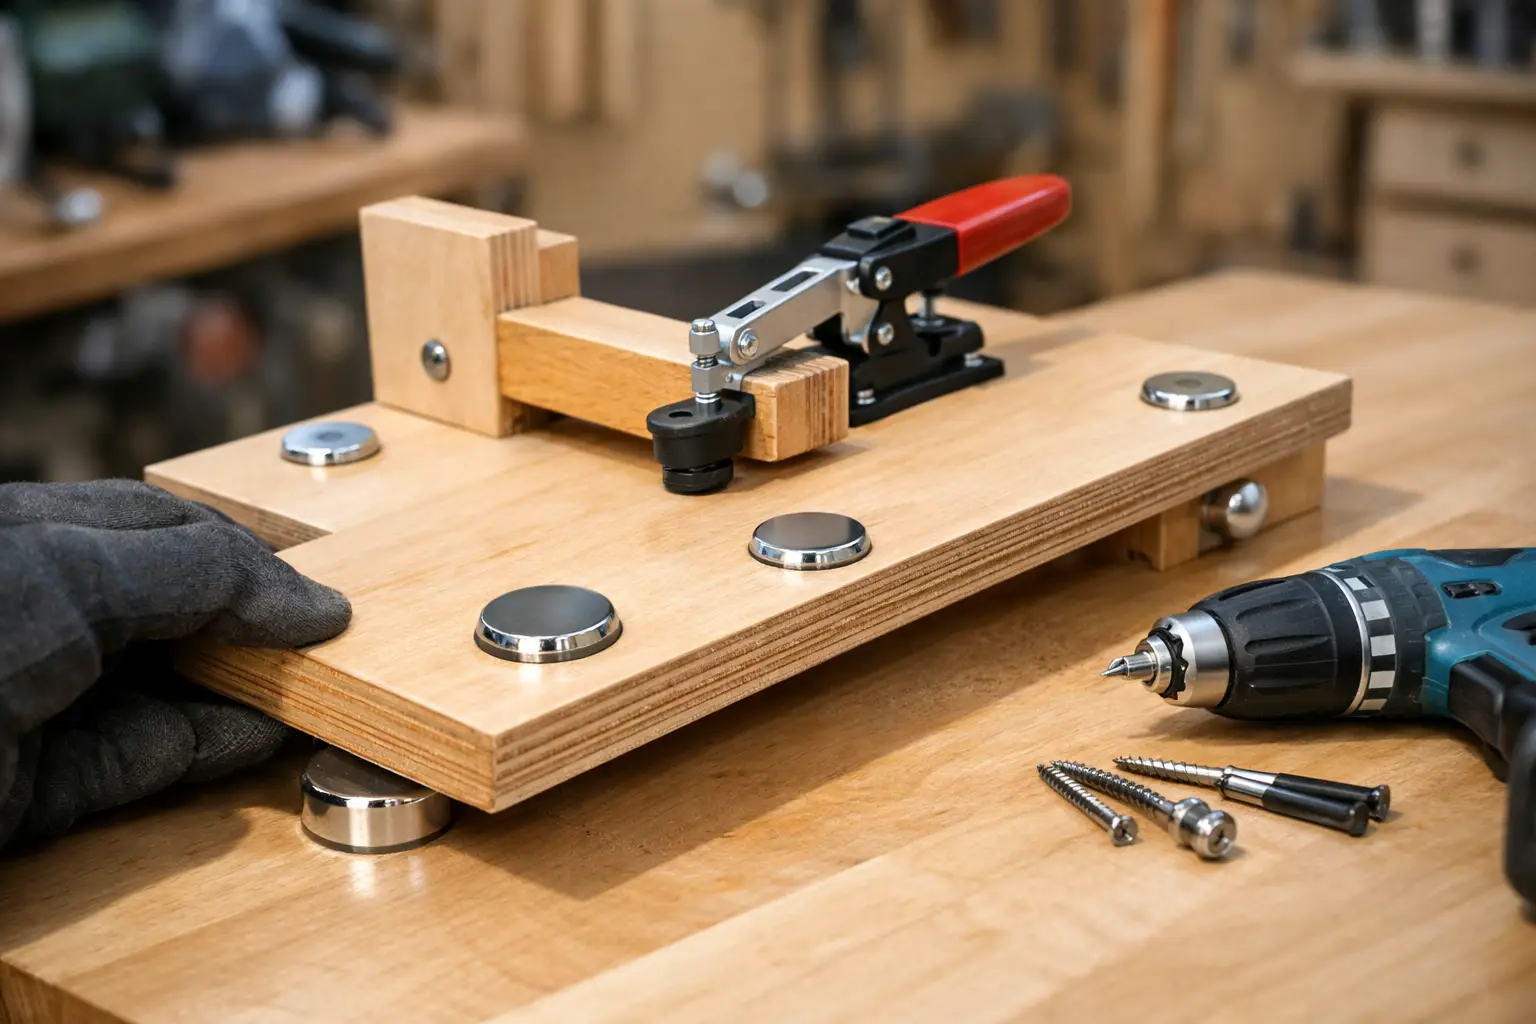
How to Build a Removable Workbench Jig Securely
A jig that lives permanently on the bench soon becomes an obstacle. To build a removable workbench jig that still returns to exactly the same position, combine positive location with strong magnetic holding power. The result is a dedicated setup for repeat cuts, drilling, sanding or assembly that comes off in seconds when you need a clear work surface.
For workshop users, cabinet makers and DIY builders, this is often a better answer than sacrificing bench space to a fixed fence or fixture. The key is not simply adding magnets underneath a board. A reliable removable jig needs to resist sideways movement, sit flat and return to the same reference point every time.
Start with the job the jig must repeat
The best jig is designed around one operation. It might hold small components safely while drilling, position cabinet doors for hinge work, provide a stop for repeated cuts or keep a sanding guide square to an edge. Define the workpiece size, the force you will apply and the accuracy you expect before cutting material.
A lightweight drilling template may only need a compact plywood base and a few magnets. A router guide, assembly stop or jig that takes regular lateral pressure needs more substantial support. Use stable plywood, hardwood or quality laminate-faced board rather than thin MDF that can flex or swell around fixing points.
Think about where the force goes. Downward pressure is easier for magnets to handle than hard sideways pulling. If the jig will be pushed repeatedly in one direction, add a physical stop, locating pins or a registered edge. Magnets hold the jig down; mechanical features prevent it creeping out of position.
Choose a fixing method that suits your bench
A magnetic removable jig works best on a steel-topped bench, a steel machine table or a bench fitted with steel locating plates. If your existing timber workbench has no steel surface, embed or surface-mount steel plates at planned jig locations. Keep the plates flush so they do not interfere with ordinary bench work.
N52 neodymium magnets are useful because they deliver powerful holding force from a small footprint. Block magnets suit narrow rails and stop fences, while disc magnets are easy to recess into a plywood base. Countersunk magnets are particularly practical where you want a screw-fixed magnet with a clean, low-profile face.
Do not assume the pull-force figure on a magnet will equal the force available in your jig. Published pull strength is generally measured under ideal conditions: direct contact with thick, clean steel and a straight pull. A thin steel plate, paint, timber veneer, dust or a sideways load will reduce real-world performance. Build in a sensible margin and test your prototype under working pressure.
Make the base flat and properly located
Cut the jig base slightly larger than the working feature above it. This gives room for several magnets and lets you spread holding force across the bench. Four contact points usually provide a stable starting point for a rectangular jig, but a long fence may need additional magnets along its length.
Recess the magnets so their faces finish flush with the underside of the jig. A proud magnet can rock the fixture; a magnet set too deeply loses valuable holding strength through the air gap. Drill or route test recesses in offcuts first, particularly when using brittle neodymium magnets that can crack if forced into a tight hole.
For repeatable placement, include a locating feature independent of the magnets. This could be a hardwood cleat that bears against the bench edge, two dowel pins that drop into dog holes, or a pair of steel pins engaging matching holes in a steel plate. A simple rear cleat and one side register often provide enough consistency for a stop jig.
The principle is straightforward: the locator sets the position, while the magnets hold the jig against it. Relying on magnets alone may be acceptable for a temporary sanding block holder, but it is less dependable for precision work.
Protect the magnets from impact
Neodymium magnets are exceptionally strong for their size, but they are not indestructible. Their coating can chip and the magnet material can fracture when it snaps onto steel or another magnet. Install them inside recesses where the surrounding timber takes the first impact.
If the jig is frequently removed, add a finger notch, small pull tab or non-magnetic handle. Avoid prising directly under the base with a screwdriver, as this can damage both the jig and the bench surface. A deliberate lifting point makes a strong magnetic fixture quicker to use as well.
Build the working feature above the base
Once the holding and location system is sorted, make the upper part of the jig specific to the task. For a crosscut stop, fit a straight hardwood fence at 90 degrees to the registered edge. For drilling, add a replaceable sacrificial backer and hardened drill guides where repeatable hole position matters. For glue-up or assembly, use low fences that support the work without restricting clamp access.
Keep adjustment simple. A slotted fence with bolts and hand knobs can provide useful range, but too many movable parts introduce error. If you regularly work at a few common dimensions, separate fixed jigs can be faster and more accurate than one highly adjustable fixture.
Where a workpiece needs to be held to the jig, magnets can also act as compact retainers, provided the workpiece contains steel or has a steel backing plate. For timber components, conventional clamps, toggle clamps or wedges remain the safer choice. A magnetic base should not be treated as a substitute for securely clamping work before routing, sawing or machining.
Test for movement before trusting the setup
Place the jig against its locators, press it down onto the steel surface and apply force in every direction you expect during use. Push along the fence line, pull sideways and lift at the corners. If it shifts, improve the mechanical location or increase the magnetic contact area before using it on a real job.
Check accuracy with the tools you already use. A reliable square, straightedge and test cuts will reveal more than measuring the jig once and assuming it is correct. For drilling jigs, make a series of holes in scrap material and compare their spacing. For saw stops, cut several identical pieces and check for variation.
Fine dust and swarf can also affect the setup. Steel filings gather quickly around powerful magnets, especially near a drill press or metalworking area. Wipe the magnet faces and steel landing surface regularly. If filings are a recurring problem, a thin replaceable plastic film over the magnet recess can make clean-up easier, although any added thickness slightly reduces holding force.
When magnets are not the right answer
A removable jig does not always need magnetic fixing. Bench dogs are excellent for repeatable placement on a perforated top, and clamps offer higher resistance to heavy side loads. T-track, threaded inserts and bolt-on fixtures can be the better option for a large router sled or anything that experiences aggressive cutting forces.
Magnets are strongest as part of a combined system: a fast way to secure a jig that already has a positive reference. This approach keeps the bench flexible without compromising the repeatability that makes a jig worthwhile.
A practical magnetic layout
For a compact plywood jig, position magnets near the corners but set them in from the edges far enough to avoid splitting the material. On a long stop fence, add magnets near each end and one or more through the middle to prevent the centre lifting. Keep identical poles facing the bench and mark the underside before final installation so replacement magnets are fitted correctly.
Use appropriate adhesive only as support where needed, not as the sole fixing for a heavily used magnet. A countersunk magnet secured with a suitable screw gives a more serviceable result. Take care not to overtighten: the magnet can crack under concentrated screw pressure. If using plain disc or block magnets, a close-fitting recess with a retaining cover plate can keep them protected and replaceable.
Powerful magnets also deserve sensible handling. Keep fingers clear as they approach steel, store them apart from devices and cards affected by magnetism, and keep them away from children. Their compact size can be deceptive.
A well-made removable jig earns its place because it disappears when the job is finished and returns without a fresh set-up when the job comes back. Start with one repeat operation, give it a firm mechanical reference, and use superior pull performance to make the fixture fast enough that you will actually use it.