12 Practical Workshop Jig Magnet Ideas to Try
A jig only earns bench space when it makes a task quicker, more accurate or easier to repeat. The best workshop jig magnet ideas do exactly that: they use compact, super-strong neodymium magnets to hold a guide, stop or workpiece where it needs to be, then release it without clamps getting in the way.
Magnets are not a replacement for every mechanical fixing. A router template under heavy side load still needs proper restraint, and a jig used near a spinning cutter must never rely on magnetic pull alone. Used in the right place, though, powerful magnets turn awkward set-ups into reliable, repeatable workshop processes.
Workshop jig magnet ideas for everyday accuracy
1. A removable table-saw fence stop
Fit a countersunk magnet into a hardwood stop block so it grips a steel table-saw fence. This gives you a fast, repeatable length stop for batch cutting without reaching for a clamp every time.
The useful detail is a clearance gap. Position the stop slightly before the blade so offcuts cannot become trapped between the blade and fence. For a wooden or aluminium fence, attach a thin steel strike plate where the magnetic stop will sit.
2. A drill-press depth and position stop
A magnetic block makes a simple stop for repetitive drilling on a steel drill-press table. Place it against the workpiece edge or a sacrificial fence, and each component can be located in the same position.
For a more permanent jig, recess a disc magnet into the base of a timber guide block. It can be moved and held firmly on the table, while the guide itself keeps small parts square beneath the bit. Keep fingers well clear and clamp very small workpieces rather than holding them by hand.
3. A magnetic featherboard base
A featherboard helps keep timber against a fence during routing or sawing. On a cast-iron table, a magnetic base can make the set-up faster than T-track hardware, particularly for one-off runs.
This is one of the cases where pull strength matters most. The featherboard must resist sideways pressure, not merely stick to the surface. Use several N52 block magnets set into a broad base, and test the assembly under realistic pressure before bringing it near a blade. Avoid relying on this approach for heavy, bowed stock or aggressive cuts.
4. A steel-backed router template locator
Template routing becomes more consistent when the workpiece lands in the same place each time. Fix a thin steel plate beneath a plywood template, then use matching magnets recessed into a locating block or workholding fixture.
The magnets establish the position while toggle clamps or mechanical stops handle cutting forces. That division of work is the sensible approach: magnets make placement fast; positive restraints keep the job safe.
5. A welding and fabrication corner jig
For steel fabrication, magnetic blocks can hold small tabs, brackets and box-section parts at a consistent angle before tack welding. A timber or metal jig fitted with magnets is particularly useful for repeating the same small assembly.
Do not place standard neodymium magnets where they will receive direct welding heat or heavy spatter. Heat can permanently reduce magnetic performance, while sparks and filings make the surface difficult to keep clean. Position magnets away from the weld zone and use removable steel shields if necessary.
6. A hands-free measuring stop
A magnetic stop block on a steel rule, steel bench top or machine fence can speed up repeated marking-out. Instead of measuring every component from scratch, set one reference point and bring each piece to it.
This works well for cabinet components, drawer parts and retail display fittings where consistent spacing matters. A small countersunk magnet lets you screw the stop into a wooden body, giving a neat, durable jig that can be stored on the side of a steel cabinet.
Magnetic jig ideas for assembly and installation
7. A cabinet-door catch alignment tool
Fitting magnetic catches can be fiddly when the door, catch and strike plate all need to meet accurately. Make a small alignment block with a recessed disc magnet to hold the strike plate in position while you close the door and mark or fix it.
The magnet should be strong enough to retain the plate, but not so strong that removing it shifts the fitting. For this job, controlled handling is more valuable than maximum pull force. A shallow recess also prevents the magnet from sitting proud and altering the alignment.
8. A temporary drawer-front positioning jig
When fitting drawer fronts, magnets can hold steel washers or temporary strike plates on a cabinet carcass while you establish a consistent gap. Use spacer blocks around the edges, position the front, then mark the fixing locations from inside.
For heavier fronts, use magnets only as an extra pair of hands during alignment. Final positioning should be secured with clamps, screws or dedicated drawer-front adjusters before drilling.
9. A repeatable hinge-marking guide
A drilling guide for concealed hinges benefits from a magnetic stop that can be moved along a steel ruler or fixed to a machine fence. Once you have set the hinge distance from the door edge, the guide returns to the same reference every time.
A compact disc magnet is often enough here, provided the guide is not subject to side load. If the jig will be handled repeatedly, bond the magnet into a properly sized recess with a suitable adhesive and cover it with a thin face layer to prevent chipping.
10. A removable bench accessory holder
Magnetic strips and recessed block magnets can keep frequently used jigs, hex keys, drill keys and setting blocks on the front of a steel-legged bench or tool cabinet. The gain is not just tidiness. It prevents small, purpose-made accessories from disappearing into a drawer when they are needed most.
Keep magnets away from precision measuring tools if swarf is likely to collect around them. Steel dust on a square or caliper can affect both cleanliness and accuracy.
Choosing the right magnet format
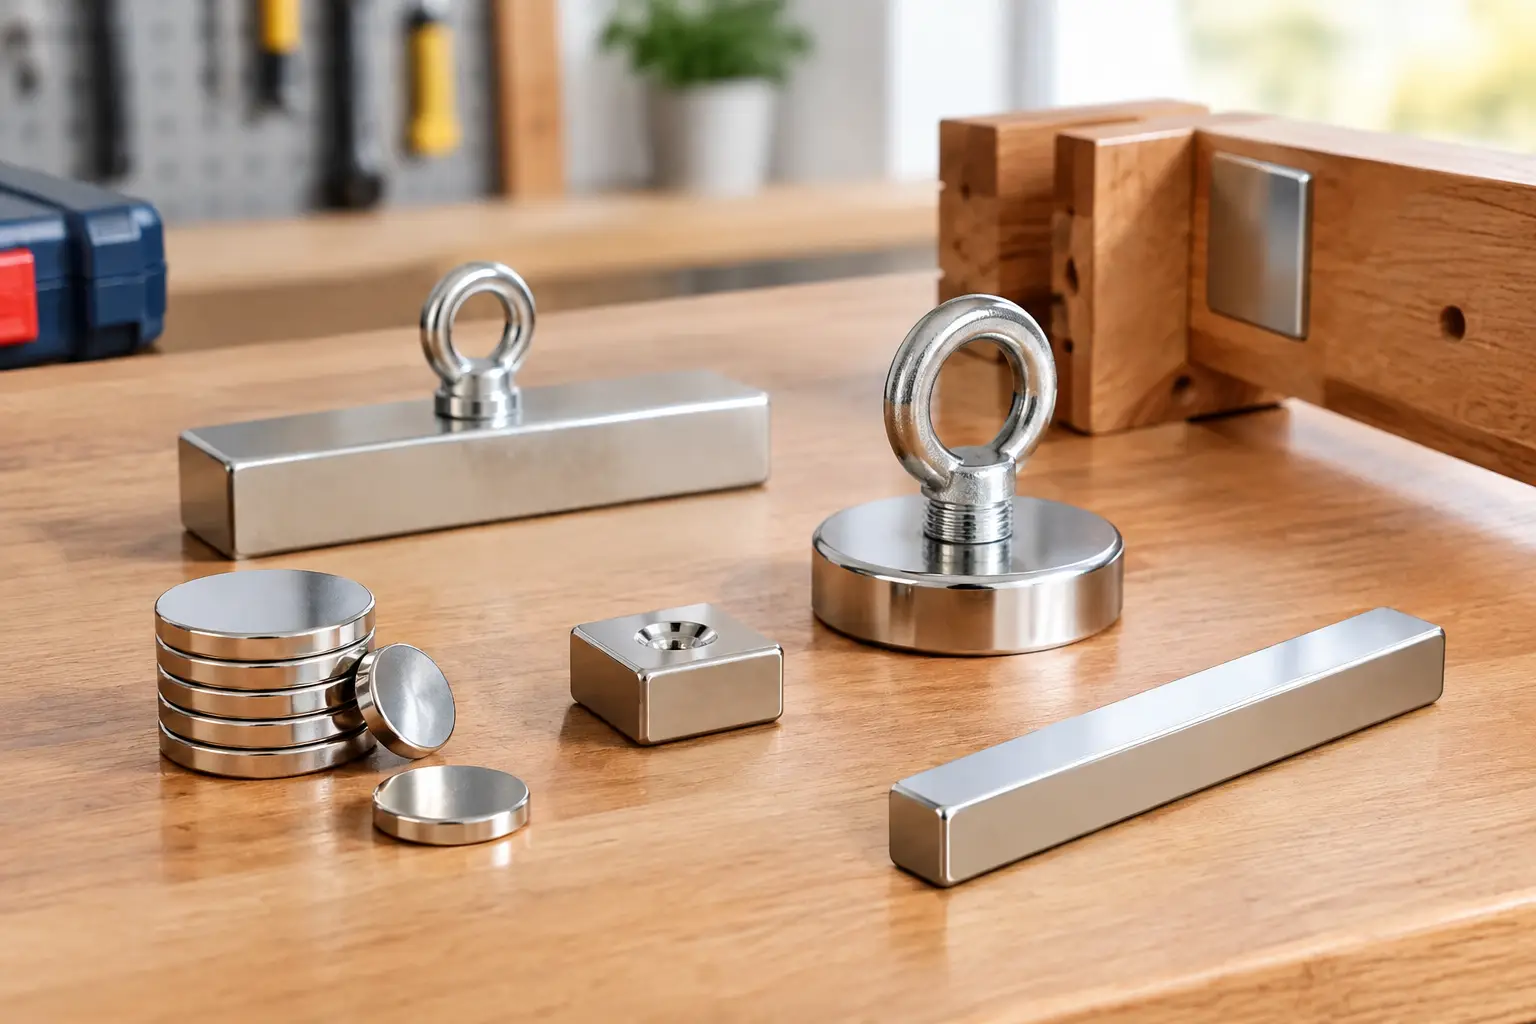
The best format depends on how the jig works. Disc magnets suit compact locating points, alignment blocks and shallow recesses. Block magnets provide more contact area and are usually the better choice for bases that must resist sliding. Countersunk magnets are ideal when the jig needs a secure screw fixing with a flush face.
N52 neodymium magnets offer superior pull performance for their size, which is valuable where space is limited. But a quoted pull force is measured in ideal conditions: clean, thick steel with a direct flat contact. Paint, sawdust, a small air gap, thin steel or a sideways load can reduce real-world holding power dramatically.
For that reason, build in a margin. If a jig needs to hold 2 kg in a sliding direction, do not choose a magnet based solely on a 2 kg stated pull figure. Increase the magnet size or quantity, improve the steel contact area, or redesign the jig so a physical lip or fence takes the sideways force.
Build details that make magnetic jigs last
Recess magnets accurately so they sit flush or just below the jig surface. A proud magnet can crack when the jig is dropped or when a workpiece is forced against it. It can also create a gap that reduces holding strength.
Use a close-fitting hole and a suitable adhesive for press-in disc or block magnets. Where possible, add a mechanical feature such as a retaining plate, screw-fixed cover or timber shoulder. Adhesive alone may be sufficient for light locating jigs, but it is less dependable where repeated impacts or heat are involved.
Mark polarity before fitting multiple magnets. Two magnets installed with opposite faces exposed may repel a steel-backed accessory less predictably, while matching orientation makes interchangeable stops and holders easier to use. Test the arrangement before gluing.
Finally, protect both the magnet and the work. A thin layer of tape, plastic laminate or heat-shrink material can reduce marking on painted steel and helps limit chipping. It will slightly reduce pull force, so compensate with magnet size if the jig needs a firm hold.
A well-made magnetic jig should feel uncomplicated: it lands in position, holds securely and gets out of the way when the task is done. Start with one repetitive job on your bench, then choose the magnet format and holding method around the real forces involved.